Protected accounts
Protected accounts are accounts that are under backup protection.
Add new protected account (AWS)
- Choose "Accounts" from the navigation bar.
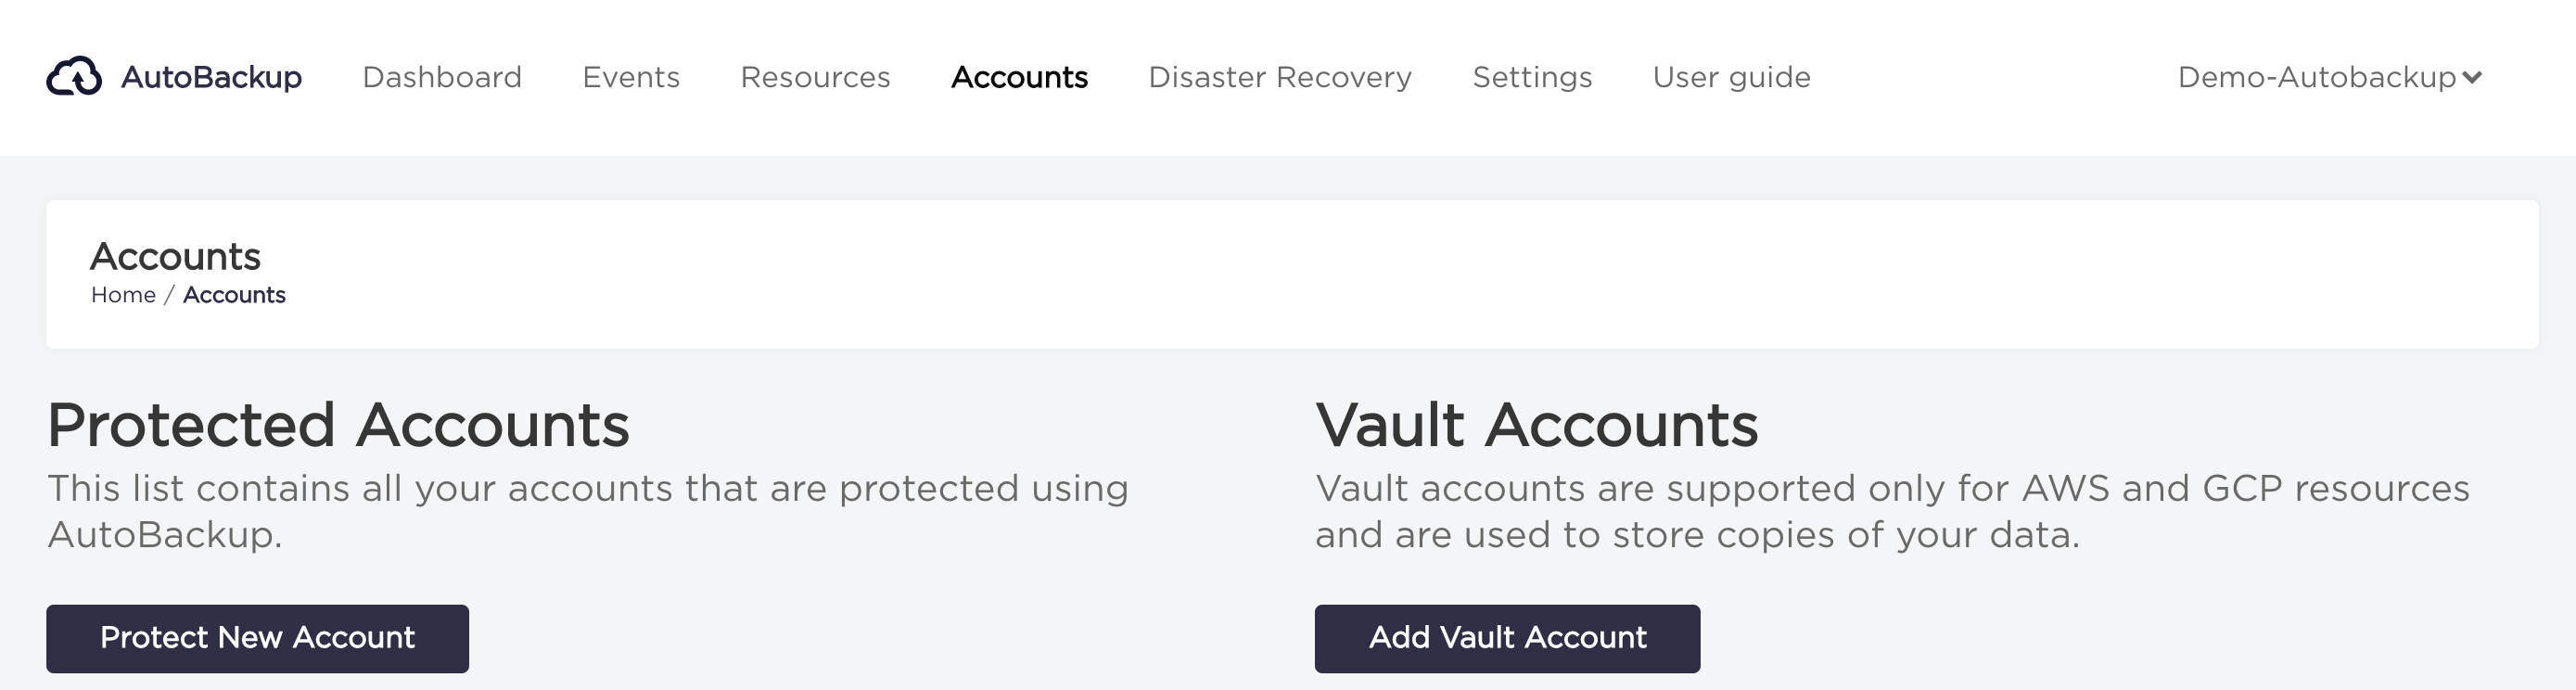
- Click on "Protect new account" button.
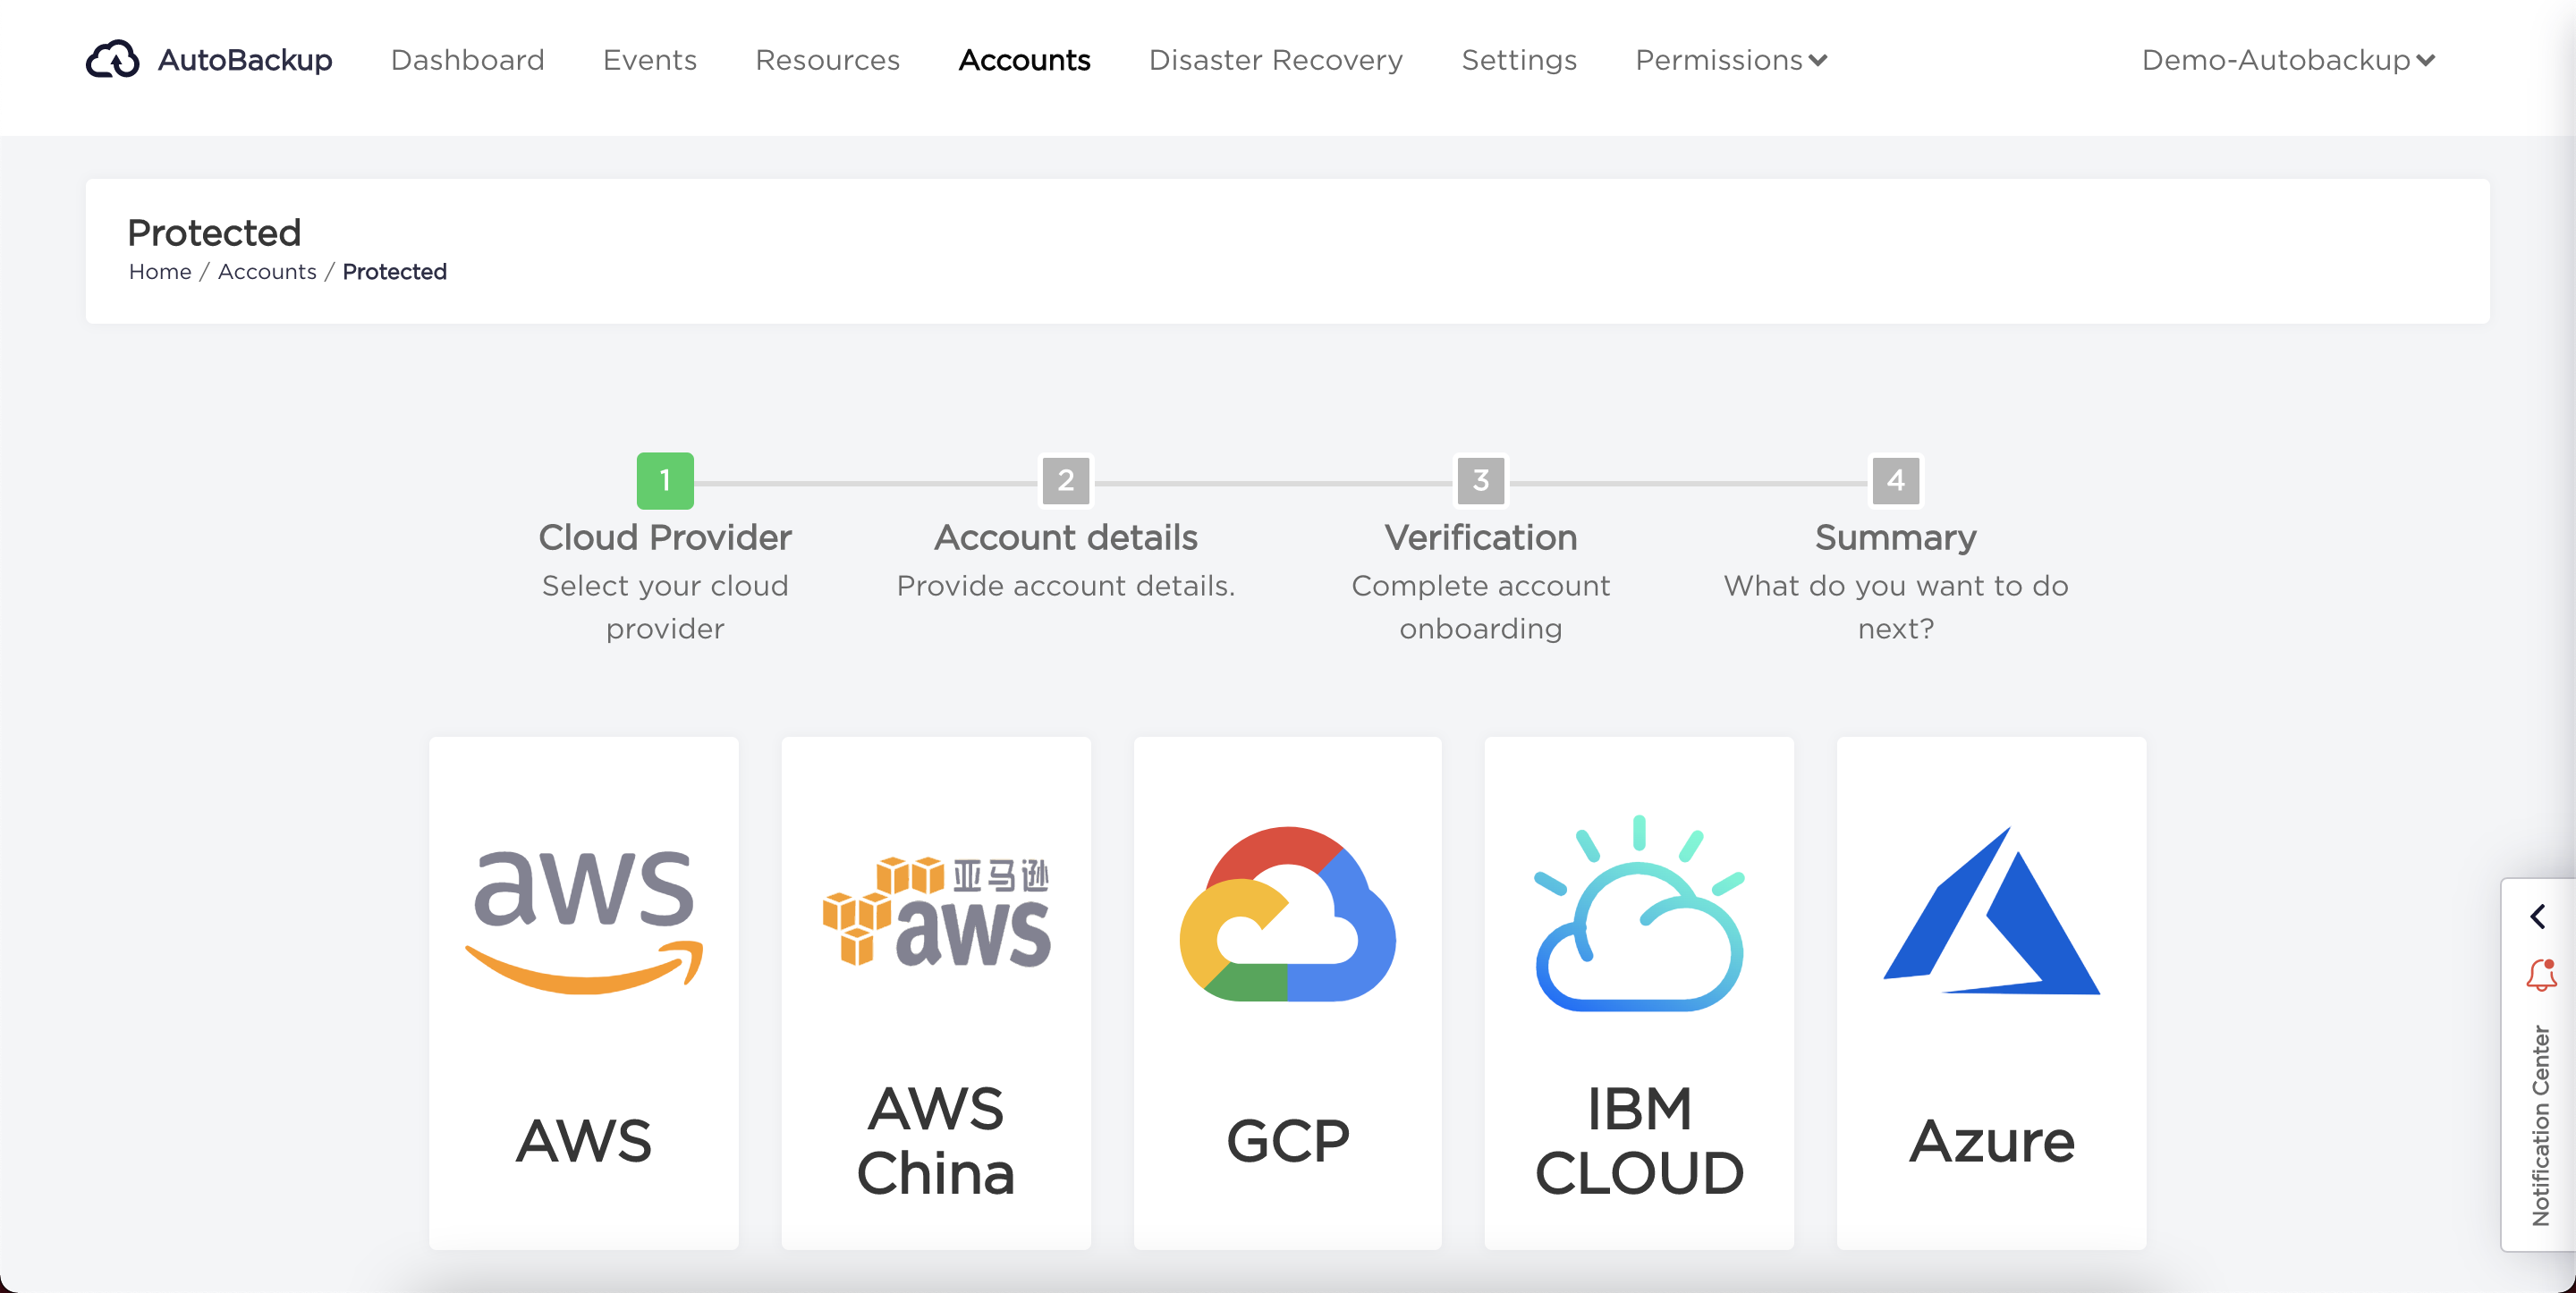
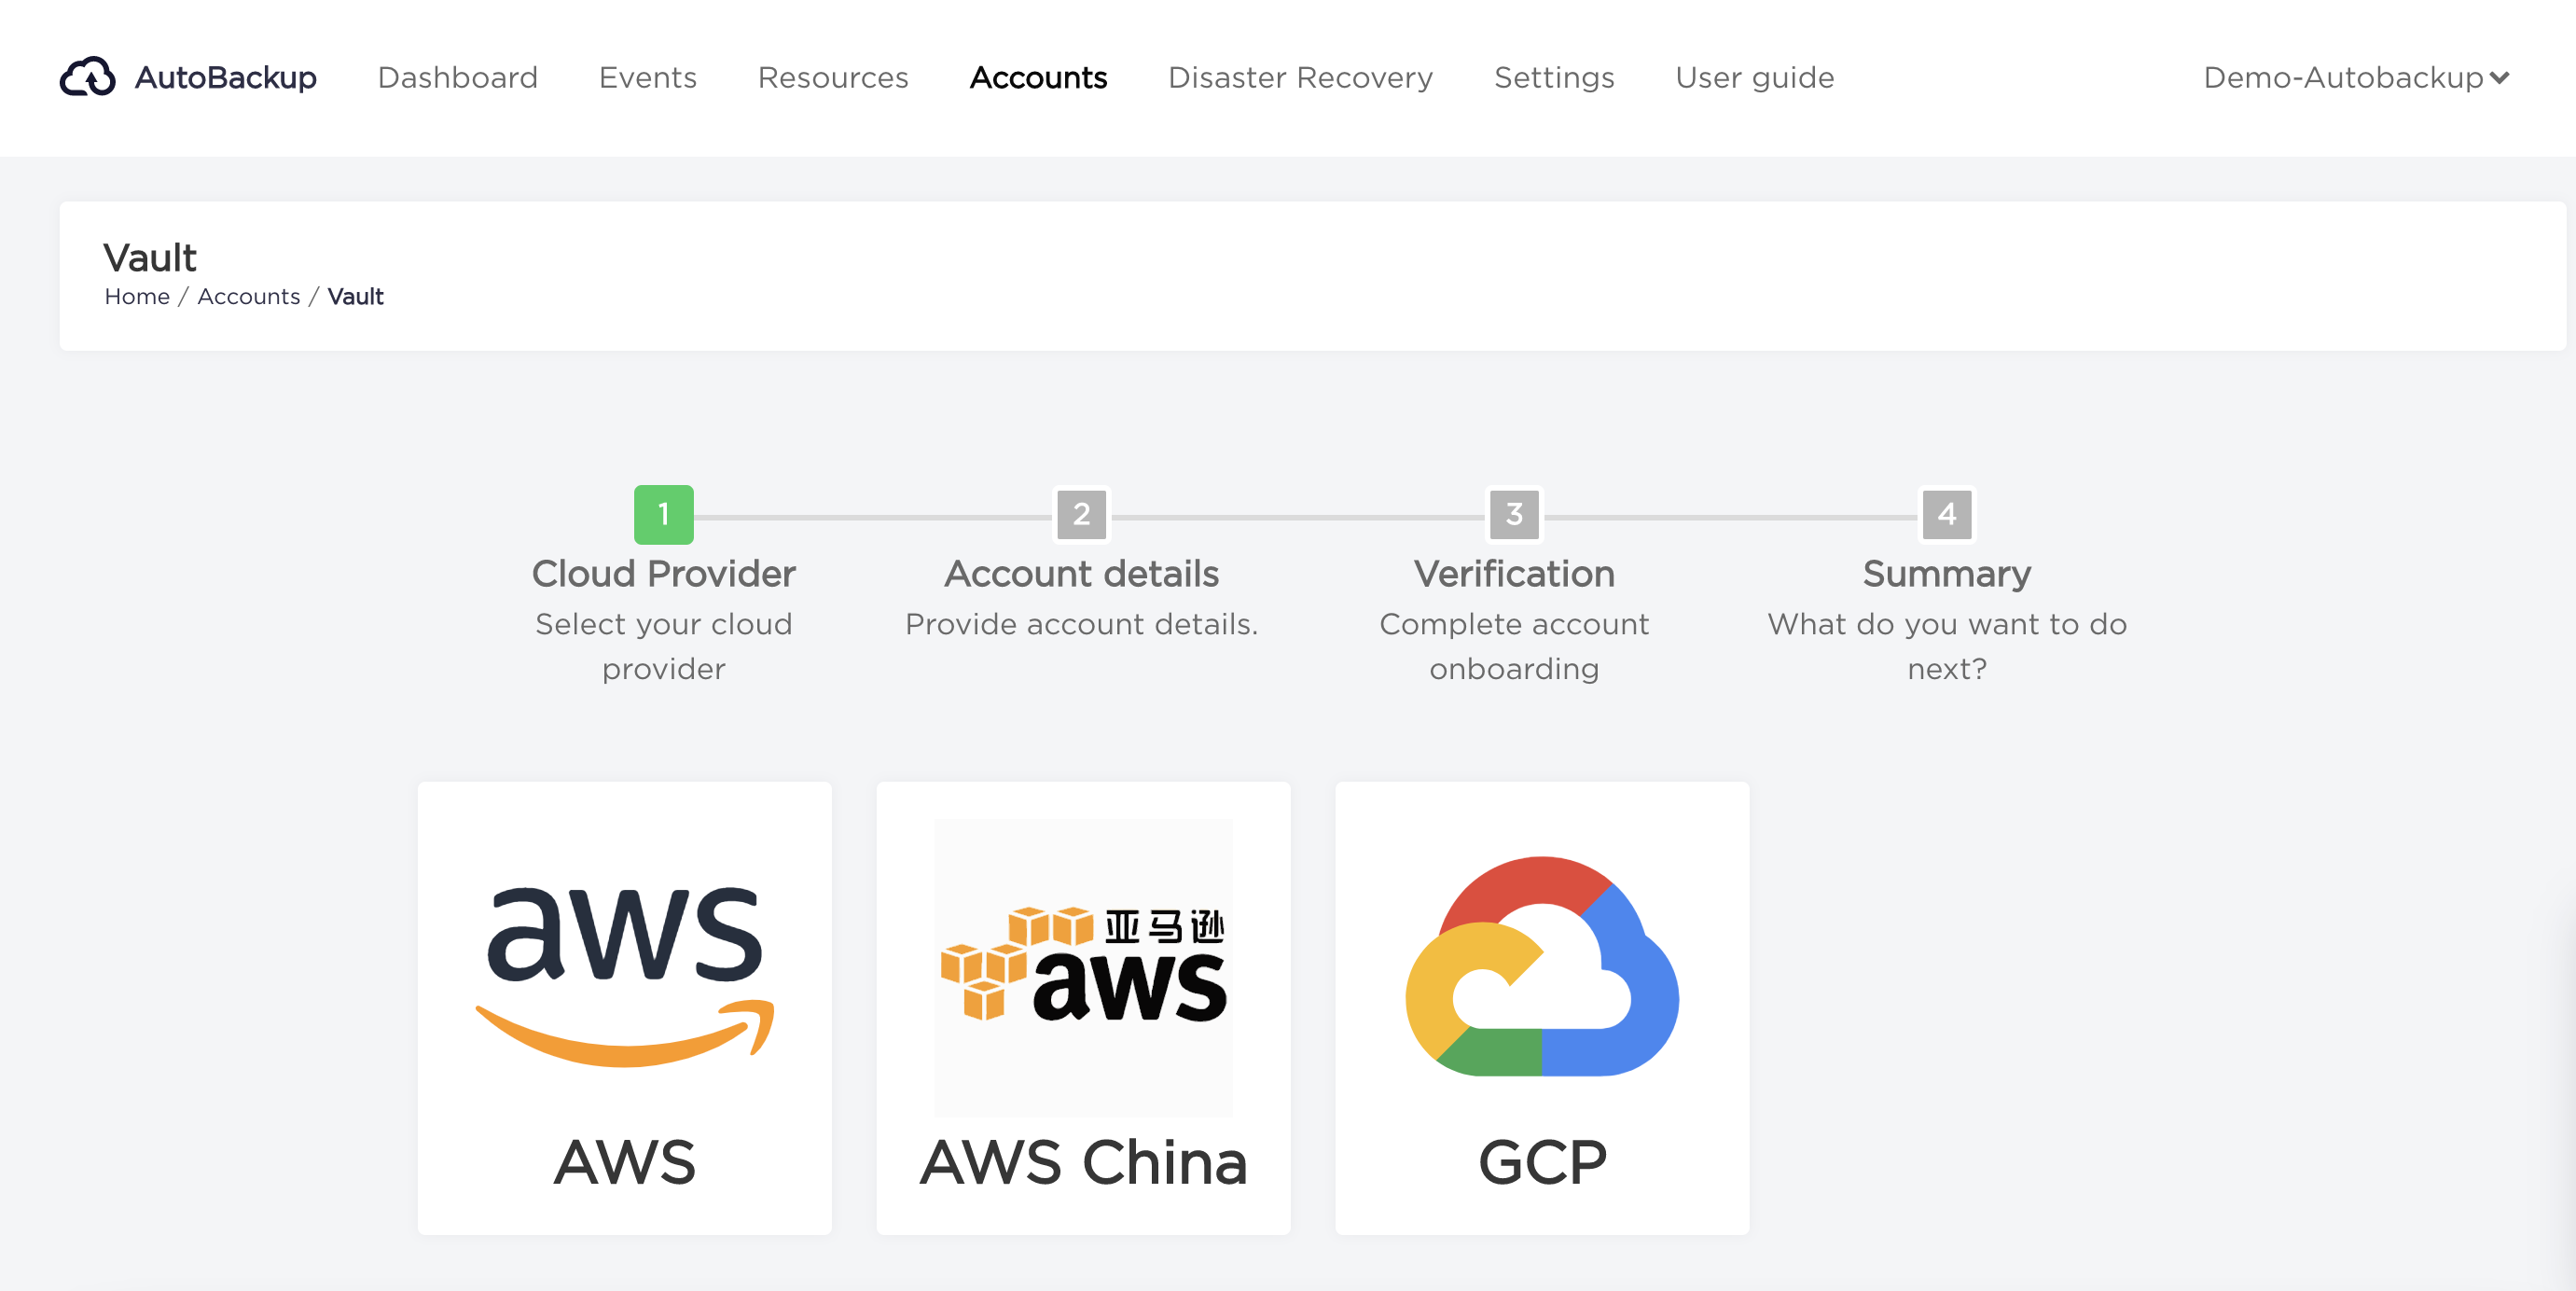
- Choose AWS from account cloud provider list.
- Type your
Account NameandAWS Accountnumber and click on "Create policy document" button.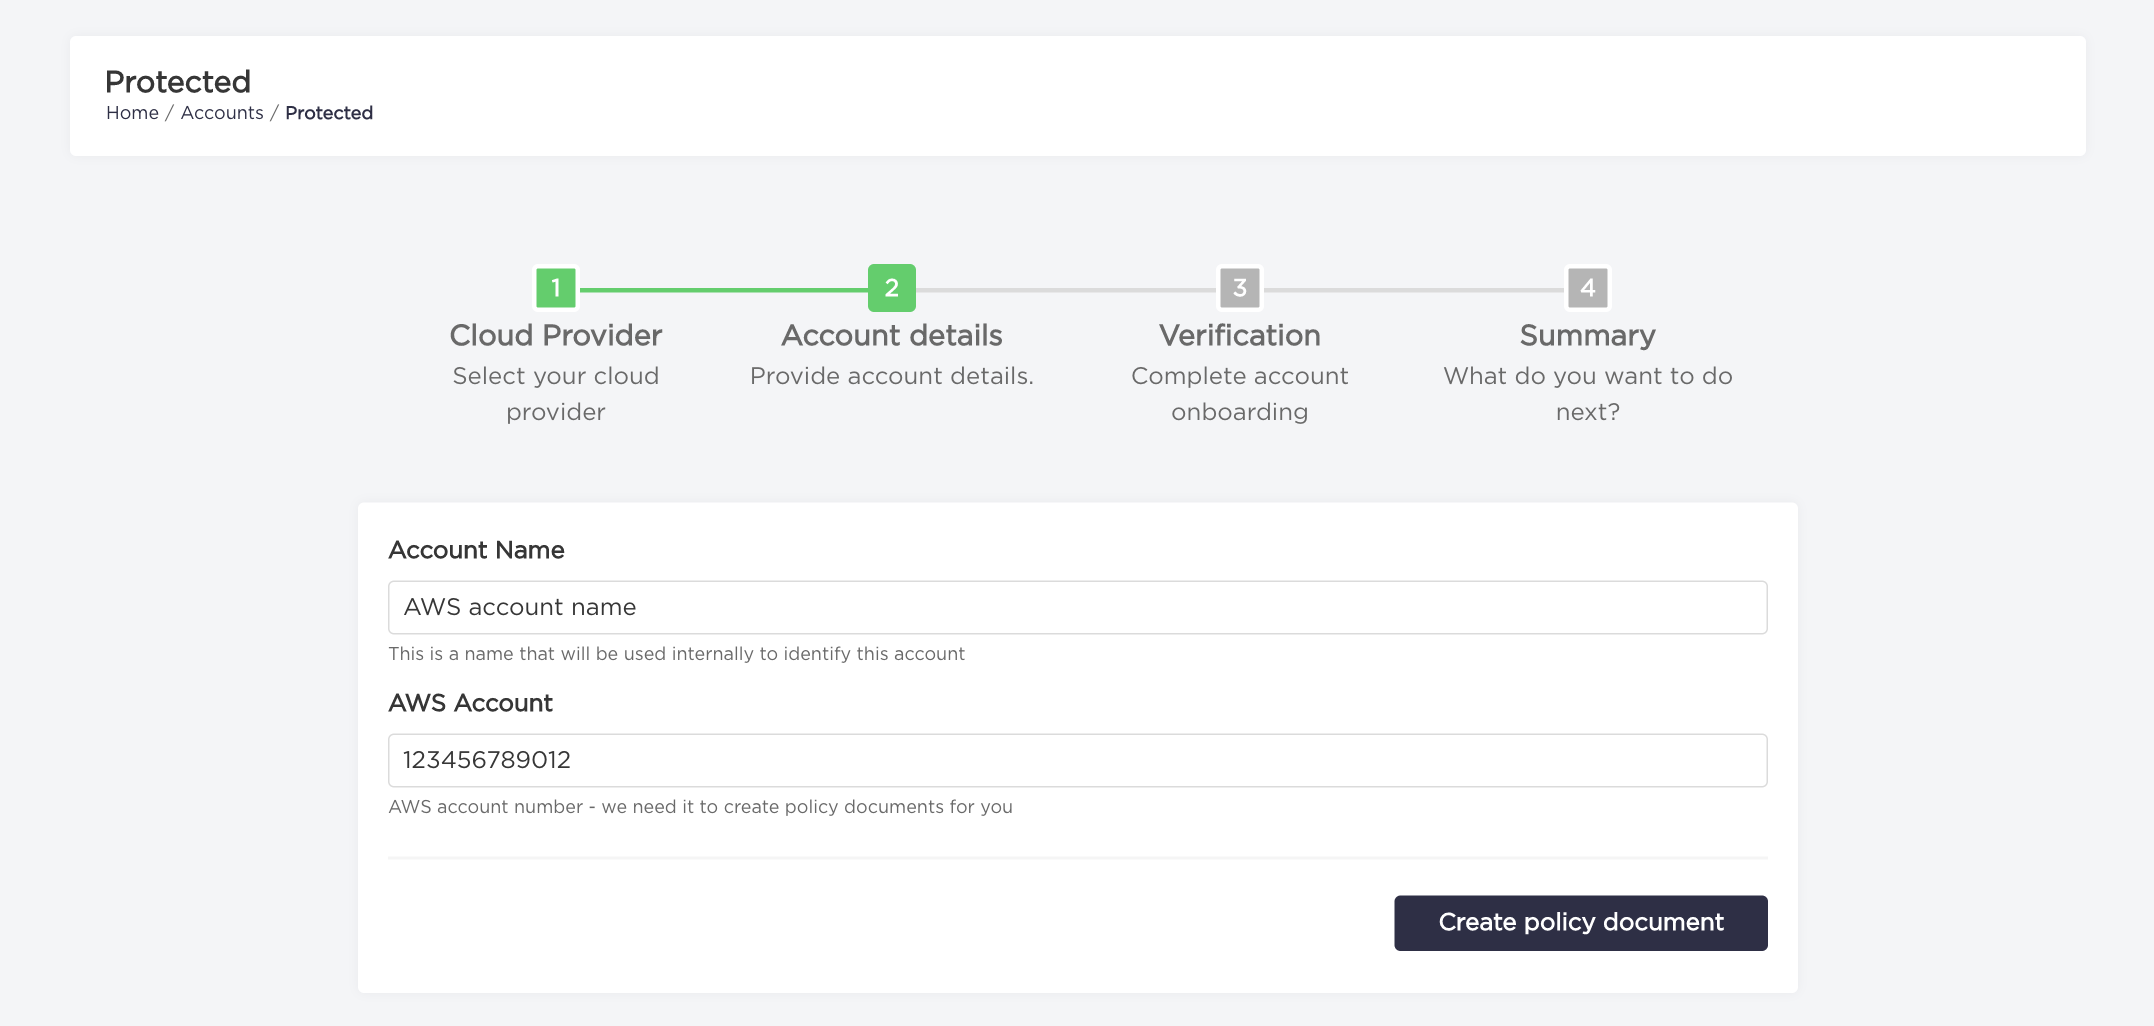
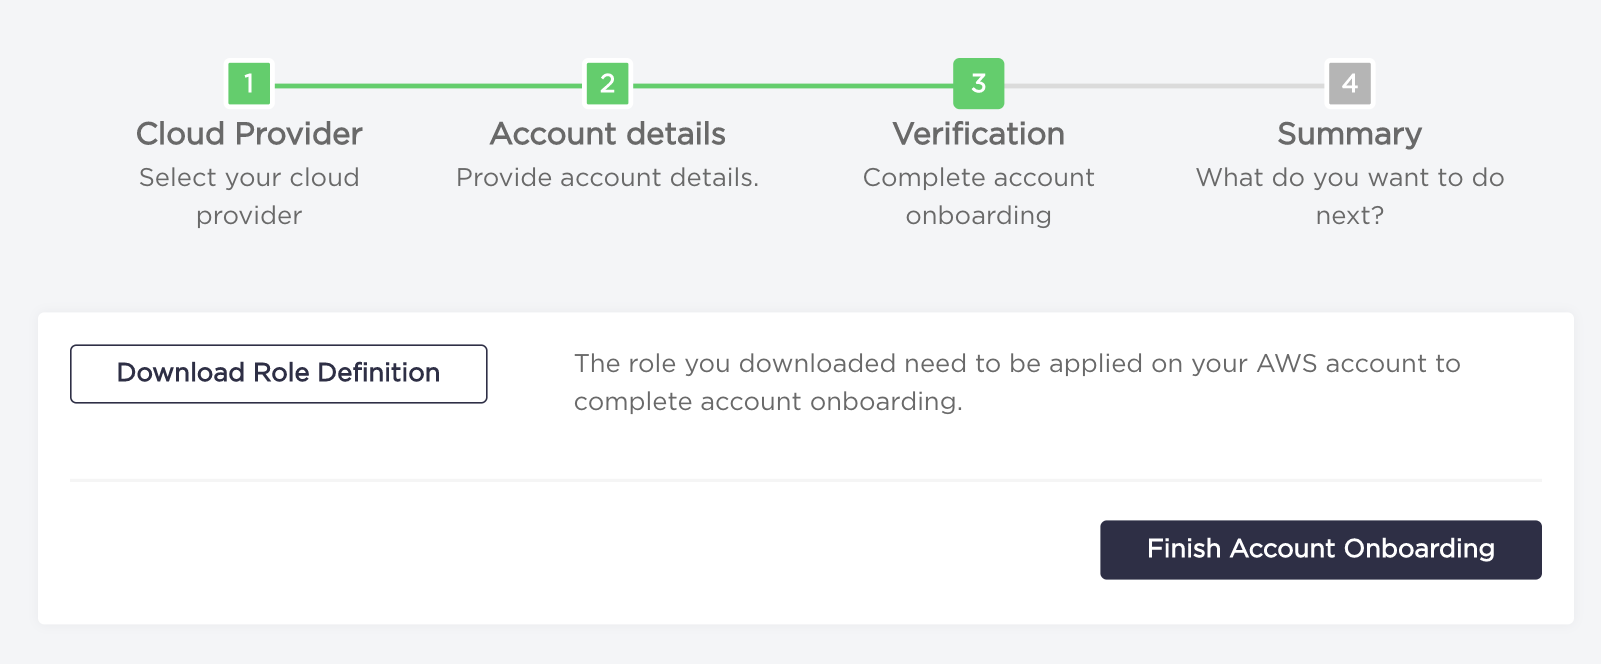
- Click on "Download Role Definition" button. The CloudFormation template you've downloaded needs to be deployed on your AWS account to complete onboarding.
Now you can click the "Finish Account Onboarding" button.
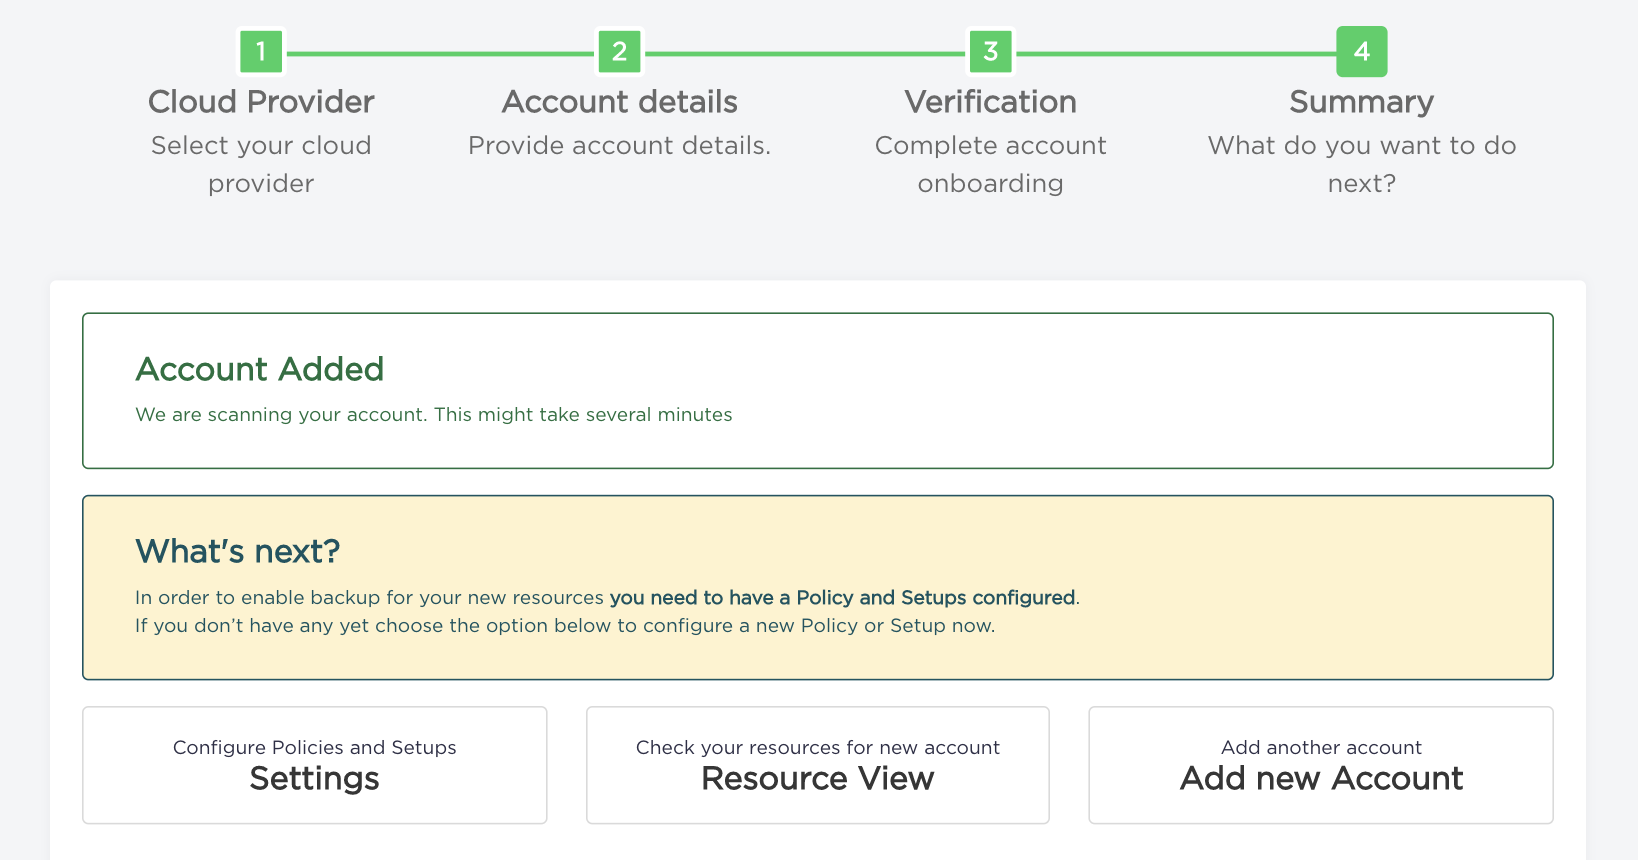
- Congratulations, your account has been added.
Add new protected account (AWS China)
The process of adding new protected account located in China is extended by an additional step of providing access keys to the IAM user. This user will be used to assume the role, defined by the downloaded CloudFormation template. Therefore, the minimal permissions associated with him should allow assuming the role.
- Choose "Accounts" from the navigation bar.
- Click on "Protect new account" button.
- Choose AWS China from account cloud provider list.
- Type your
Account NameandAWS Accountnumber and click on "Generate policy document" button to go to the next step. - Type your
Access Key IdandSecret Access Keyand click on "Generate policy document" button.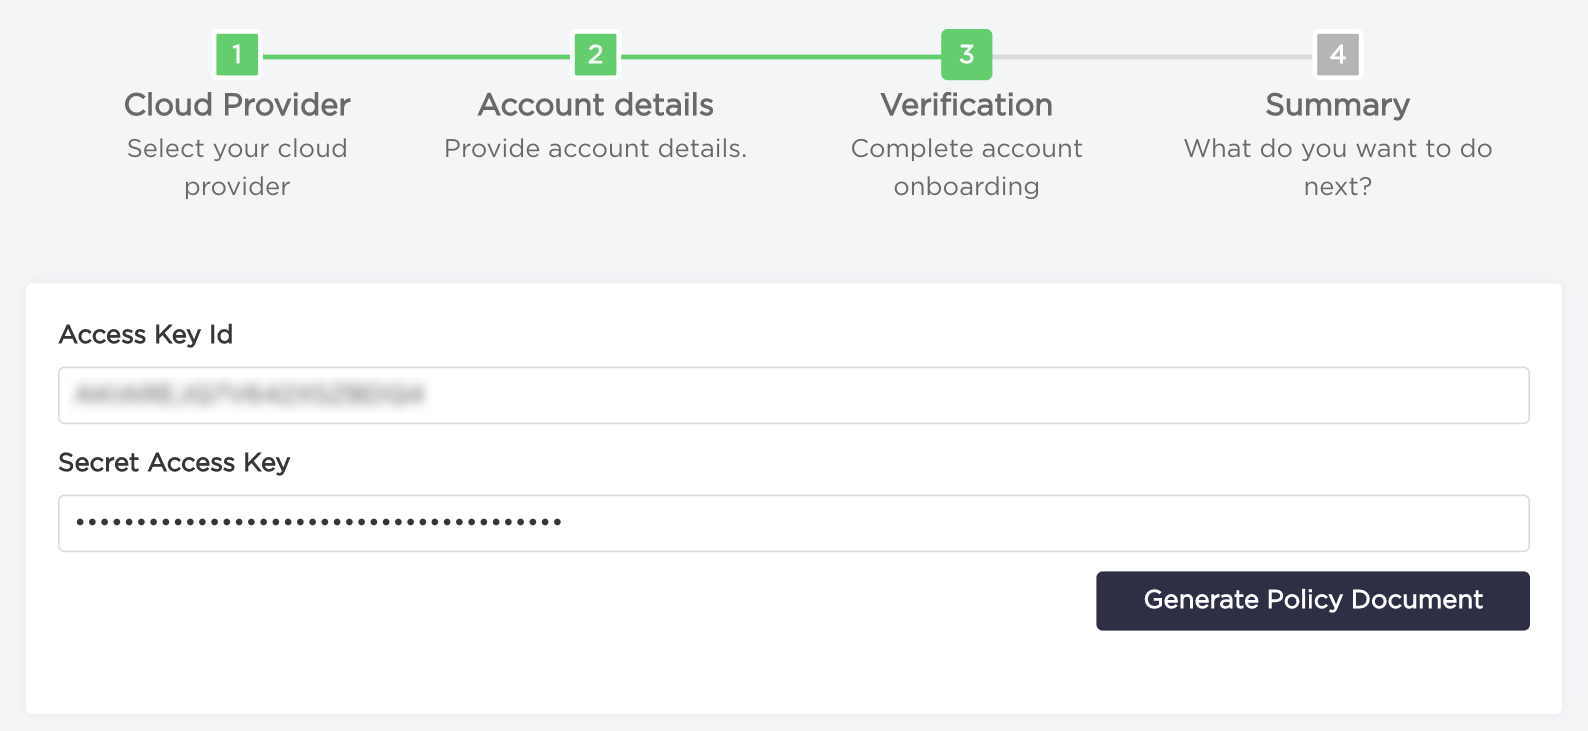
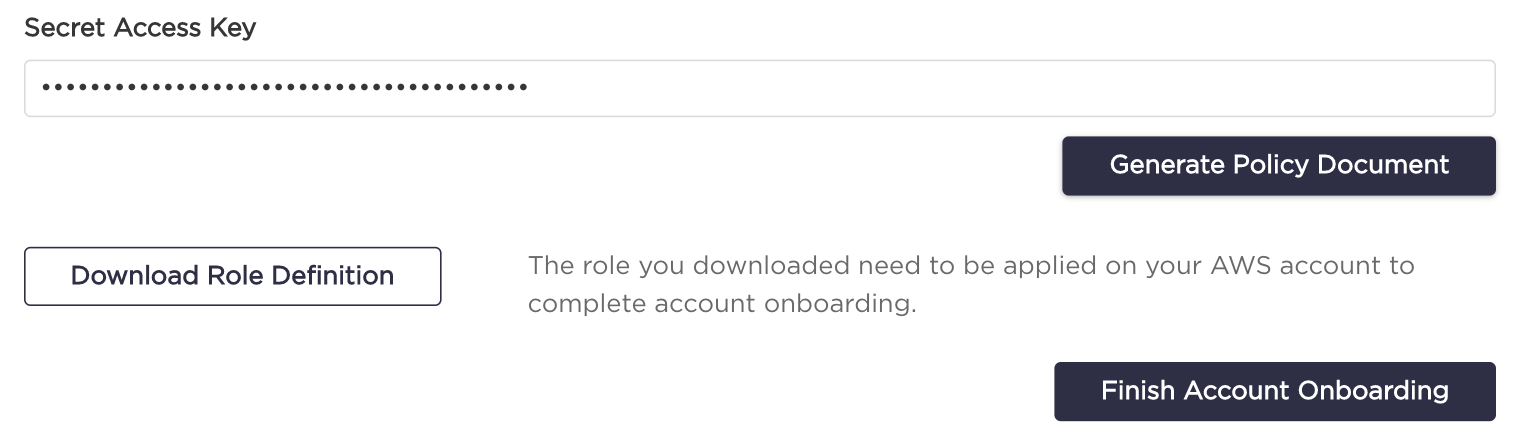
- Now you should see download role definition option. Click on "Download Role Definition" button. The CloudFormation template you've downloaded needs to be deployed on your AWS account to complete onboarding.
Now you can click the "Finish Account Onboarding" button.
- Congratulations, your account has been added.
Add new protected account (Azure)
- Choose "Accounts" from the navigation bar.
- Click on "Protect new account" button.
- Choose Azure from account cloud provider list.
- Type your
Account NameandSubscription Idnumber and click on "Next - Provide credentials" button.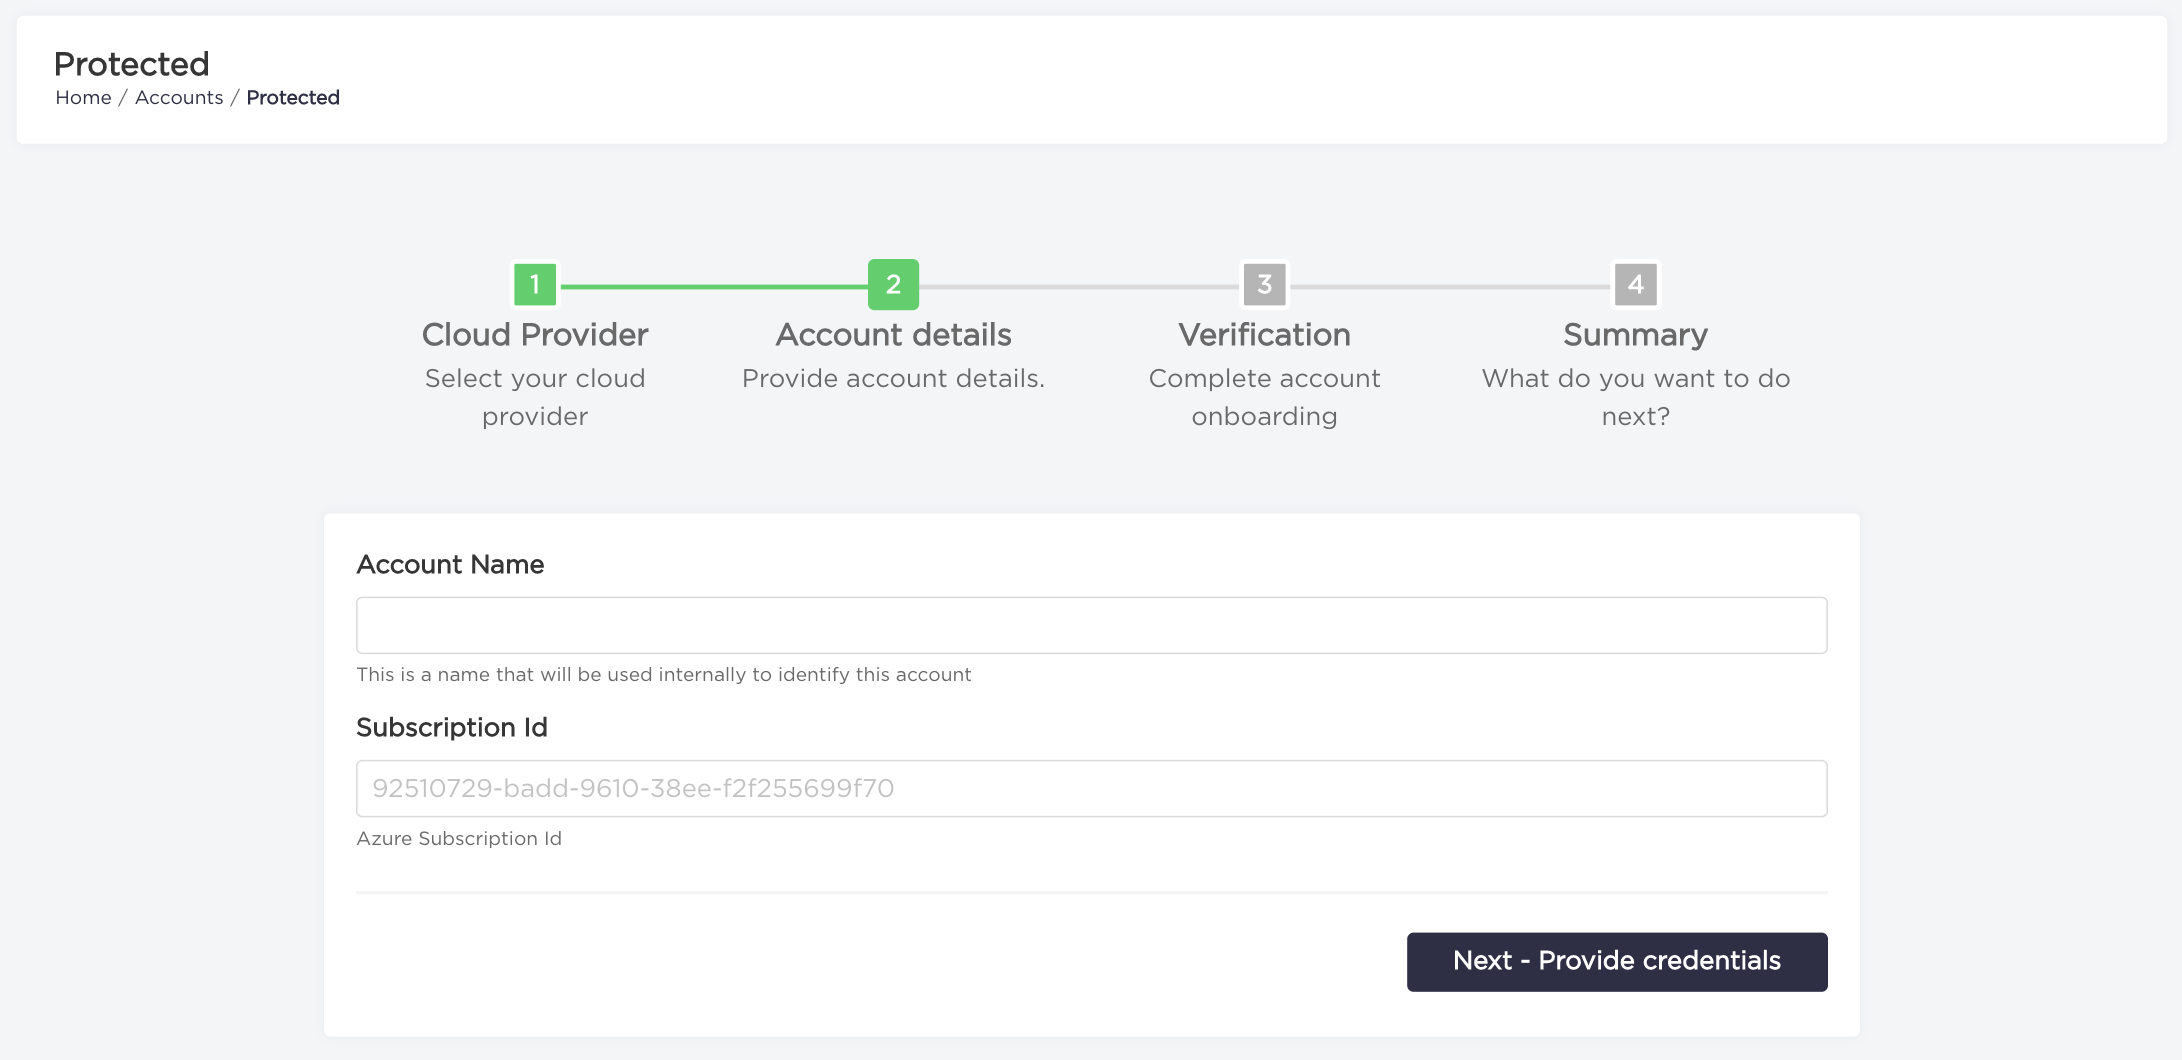
- Type your
Client Id,Client secret, andTenant Idand click the "Finish Account Onboarding" button. Client Id, Client secret and Tenant Id can be obtained, by creating a service principal with the Contributor role: Create an Azure service principal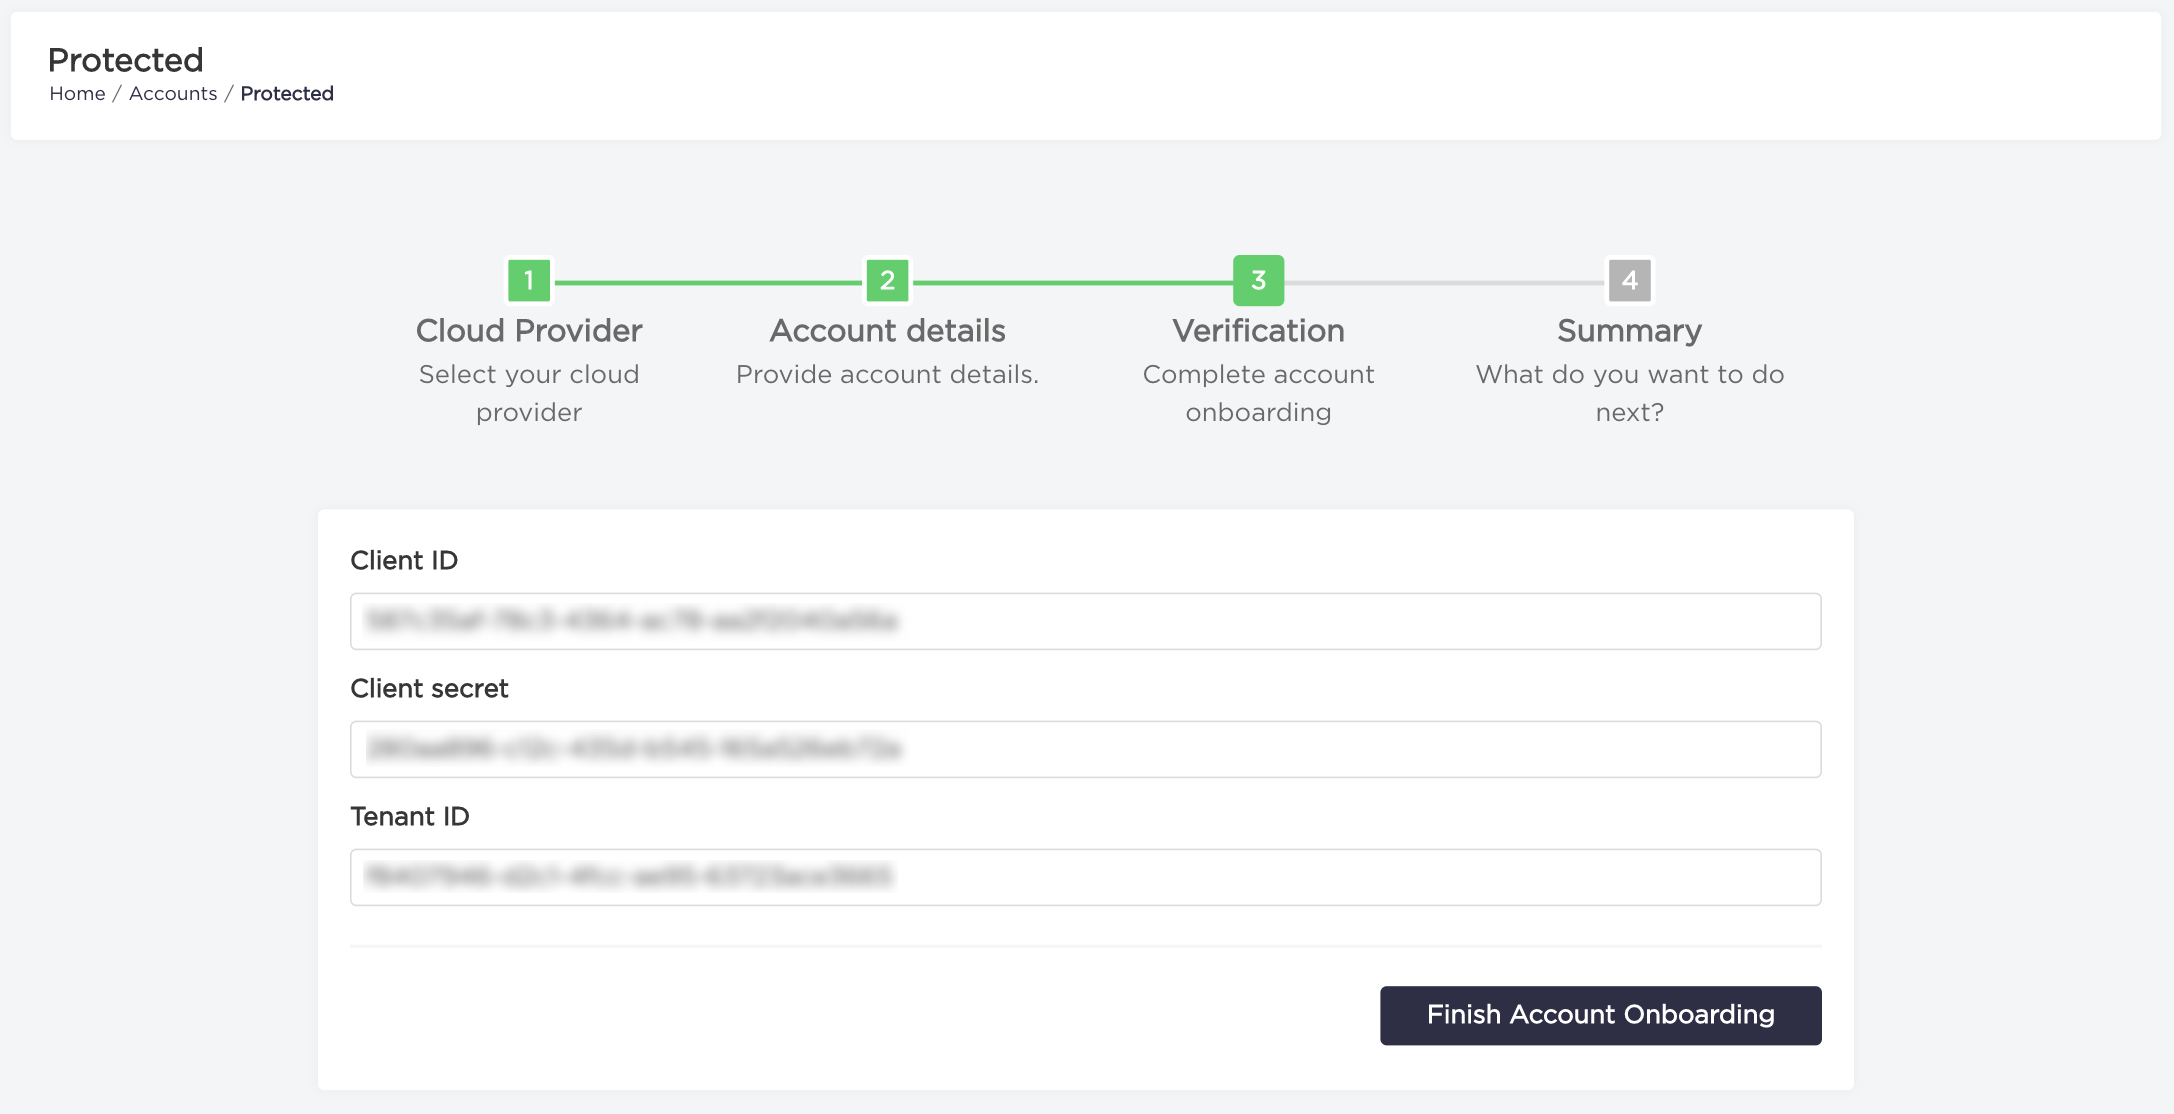
- Congratulations, your account has been added.
Vault accounts
Vault account is used only for storing backup replicas. Resources contained within your vault accounts won’t be backed up.
Add new vault account (AWS)
- Choose "Accounts" from the navigation bar.
- Click on "Add Vault Account" button.
- Choose AWS from account cloud provider list.
- Type your
Account NameandAWS Accountnumber and click on "Create policy document" button.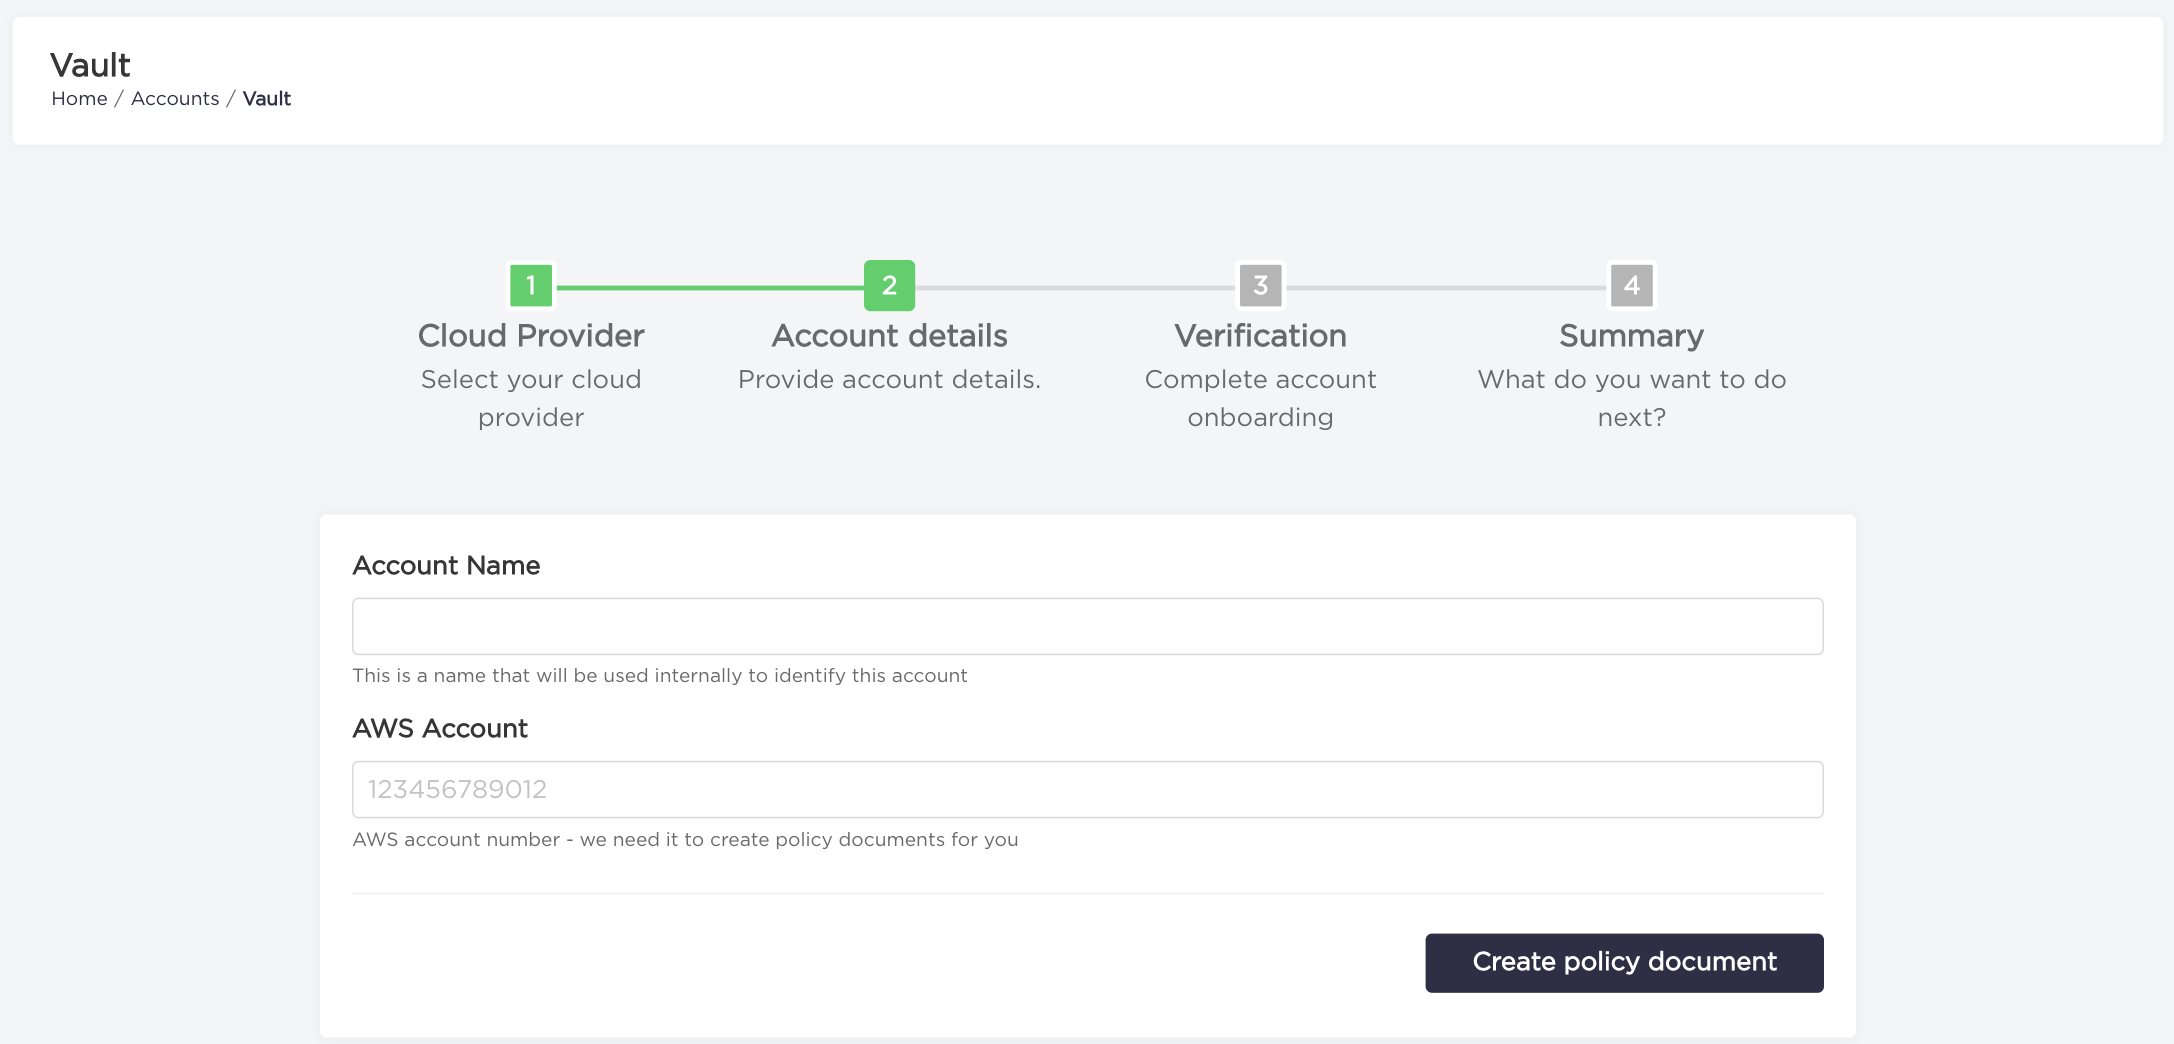
- Click on "Download Role Definition" button. The CloudFormation template you've downloaded needs to be deployed on your AWS account to complete onboarding.
Now you can click the "Finish Account Onboarding" button.
- Congratulations, your account has been added.
Add new vault account (AWS China)
The process of adding new vault account located in China is extended by an additional step of providing access keys to the IAM user. This user will be used to assume the role, defined by the downloaded CloudFormation template. Therefore, the minimal permissions associated with him should allow assuming the role.
- Choose "Accounts" from the navigation bar.
- Click on "Add Vault Account" button.
- Choose AWS China from account cloud provider list.
- Type your
Account NameandAWS Accountnumber and click on "Generate policy document" button to go to the next step. - Type your
Access Key IdandSecret Access Keyand click on "Generate policy document" button. - Now you should see download role definition option. Click on "Download Role Definition" button. The CloudFormation template you've downloaded needs to be deployed on your AWS account to complete onboarding.
Now you can click the "Finish Account Onboarding" button.
- Congratulations, your account has been added.
Add new protected/vault account (GCP)
GCP Onboarding requirements:
- A storage bucket in protected accounts (regional with standard storage class in Europe) with the label
nordcloud-purpose: scanner. - A Service Account
This service account will need to be granted the following roles on the following scopes:
- Resource: The service account itself (with enabled IAM Service Account Credentials API)
- roles/iam.serviceAccountTokenCreator (Service Account Token Creator)
- Project: On Vault projects (with enabled Compute Engine API)
- roles/compute.storageAdmin (Storage Admin)
- Project: On Protected projects (with enabled Compute Engine API)
- roles/compute.storageAdmin (Storage Admin)
- roles/serviceusage.serviceUsageAdmin (Service Usage Admin)
- roles/cloudasset.viewer (Cloud Asset Viewer)
- roles/viewer (Viewer)
- Bucket:
- roles/storage.objectCreator (Storage Object Creator)
Alternatively, two custom roles (instead of roles/compute.storageAdmin) can be created for Vault and Protected project bindings.
Vault Role
- compute.disks.createSnapshot
- compute.globalOperations.get
- compute.images.create
- compute.images.delete
- compute.images.getIamPolicy
- compute.images.setIamPolicy
- compute.instances.get
- compute.instances.list
- compute.regionOperations.get
- compute.snapshots.create
- compute.snapshots.delete
- compute.snapshots.get
- compute.snapshots.setLabels
- compute.snapshots.useReadOnly
- compute.zoneOperations.get
Protected Role
- compute.disks.create
- compute.disks.createSnapshot
- compute.disks.delete
- compute.snapshots.create
- compute.snapshots.delete
- compute.snapshots.get
- compute.snapshots.setLabels
- compute.zoneOperations.get
Consider the following regarding the principle of the least privilege.
- Updating the role. If the role is created on the organization level, the role only needs to be updated there, however you will also have permission to update roles other custom roles on the org node. If you create the role on projected level, You need to also be able to update all them when new features are launched.
- Using the predefined roles gives more permissions, but those permissions are still limited to project scope and related to the purpose of AB.
- Choose "Accounts" from the navigation bar.
- Click "Protect New Account" or "Add Vault Account", depending on which type of account you want to onboard.
- Choose GCP from account cloud provider list.
- Type your
Account NameandProject Id. Proceed to next step by clickingNext - Provide credentials.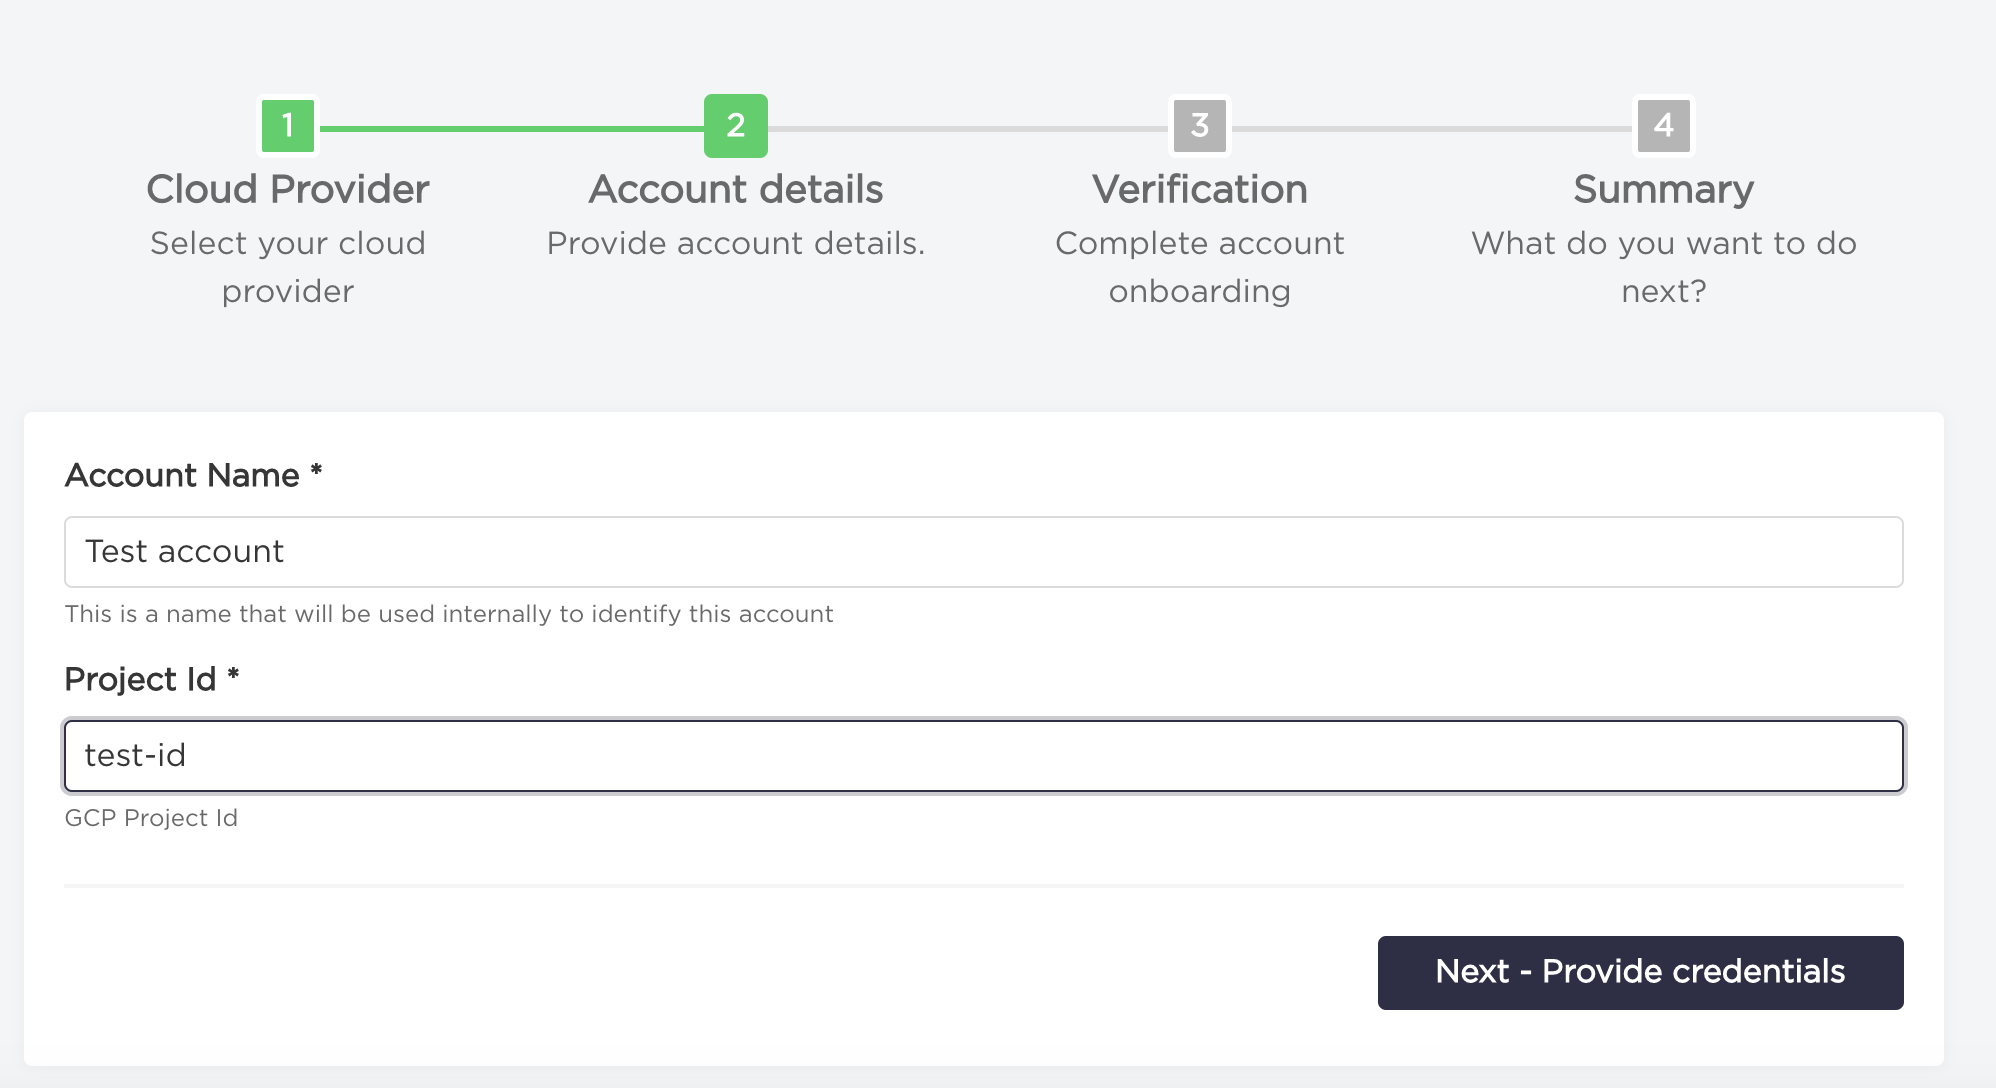
- Upload credentials file clicking
Choose file. Or if you have already uploaded a keypair, select your service account from the dropdown list. Now you can click the "Finish Account Onboarding" button.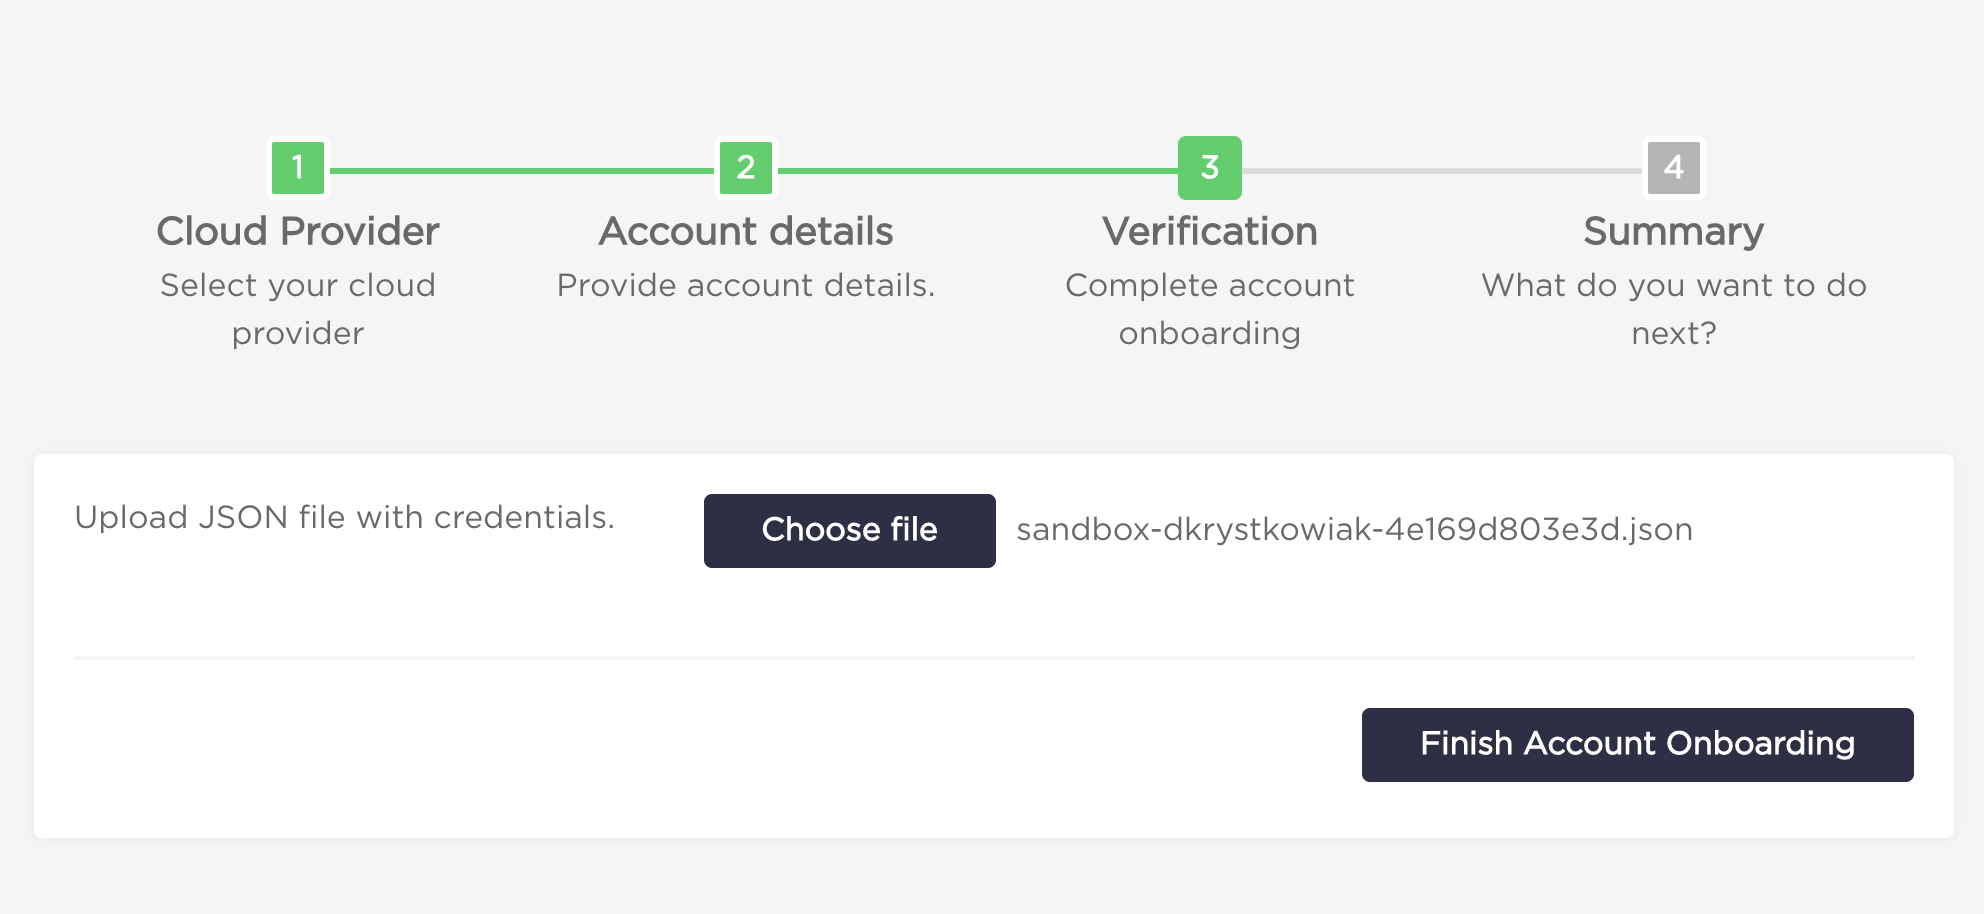
- Congratulations, your account has been added.
Add new protected account (IBM Cloud)
For onboarding account to AutoBackup you must provide the API key.
Required permissions for scanning and backup process:
- is.instance.instance.read
- is.instance.instance.operate
- is.volume.volume.read
- is.volume.volume.operate
- is.snapshot.snapshot.read
- is.snapshot.snapshot.create
- is.snapshot.snapshot.delete
- global-search-tagging.tag.attach-user-tag
- global-search-tagging.resource.read
- resource-controller.instance.create
- Choose "Accounts" from the navigation bar.
- Click "Protect New Account".
- Choose IBM CLOUD from account cloud provider list.
- Type your
Account NameandIBM Cloud Account Id. Proceed to next step by clickingNext - Provide credentials.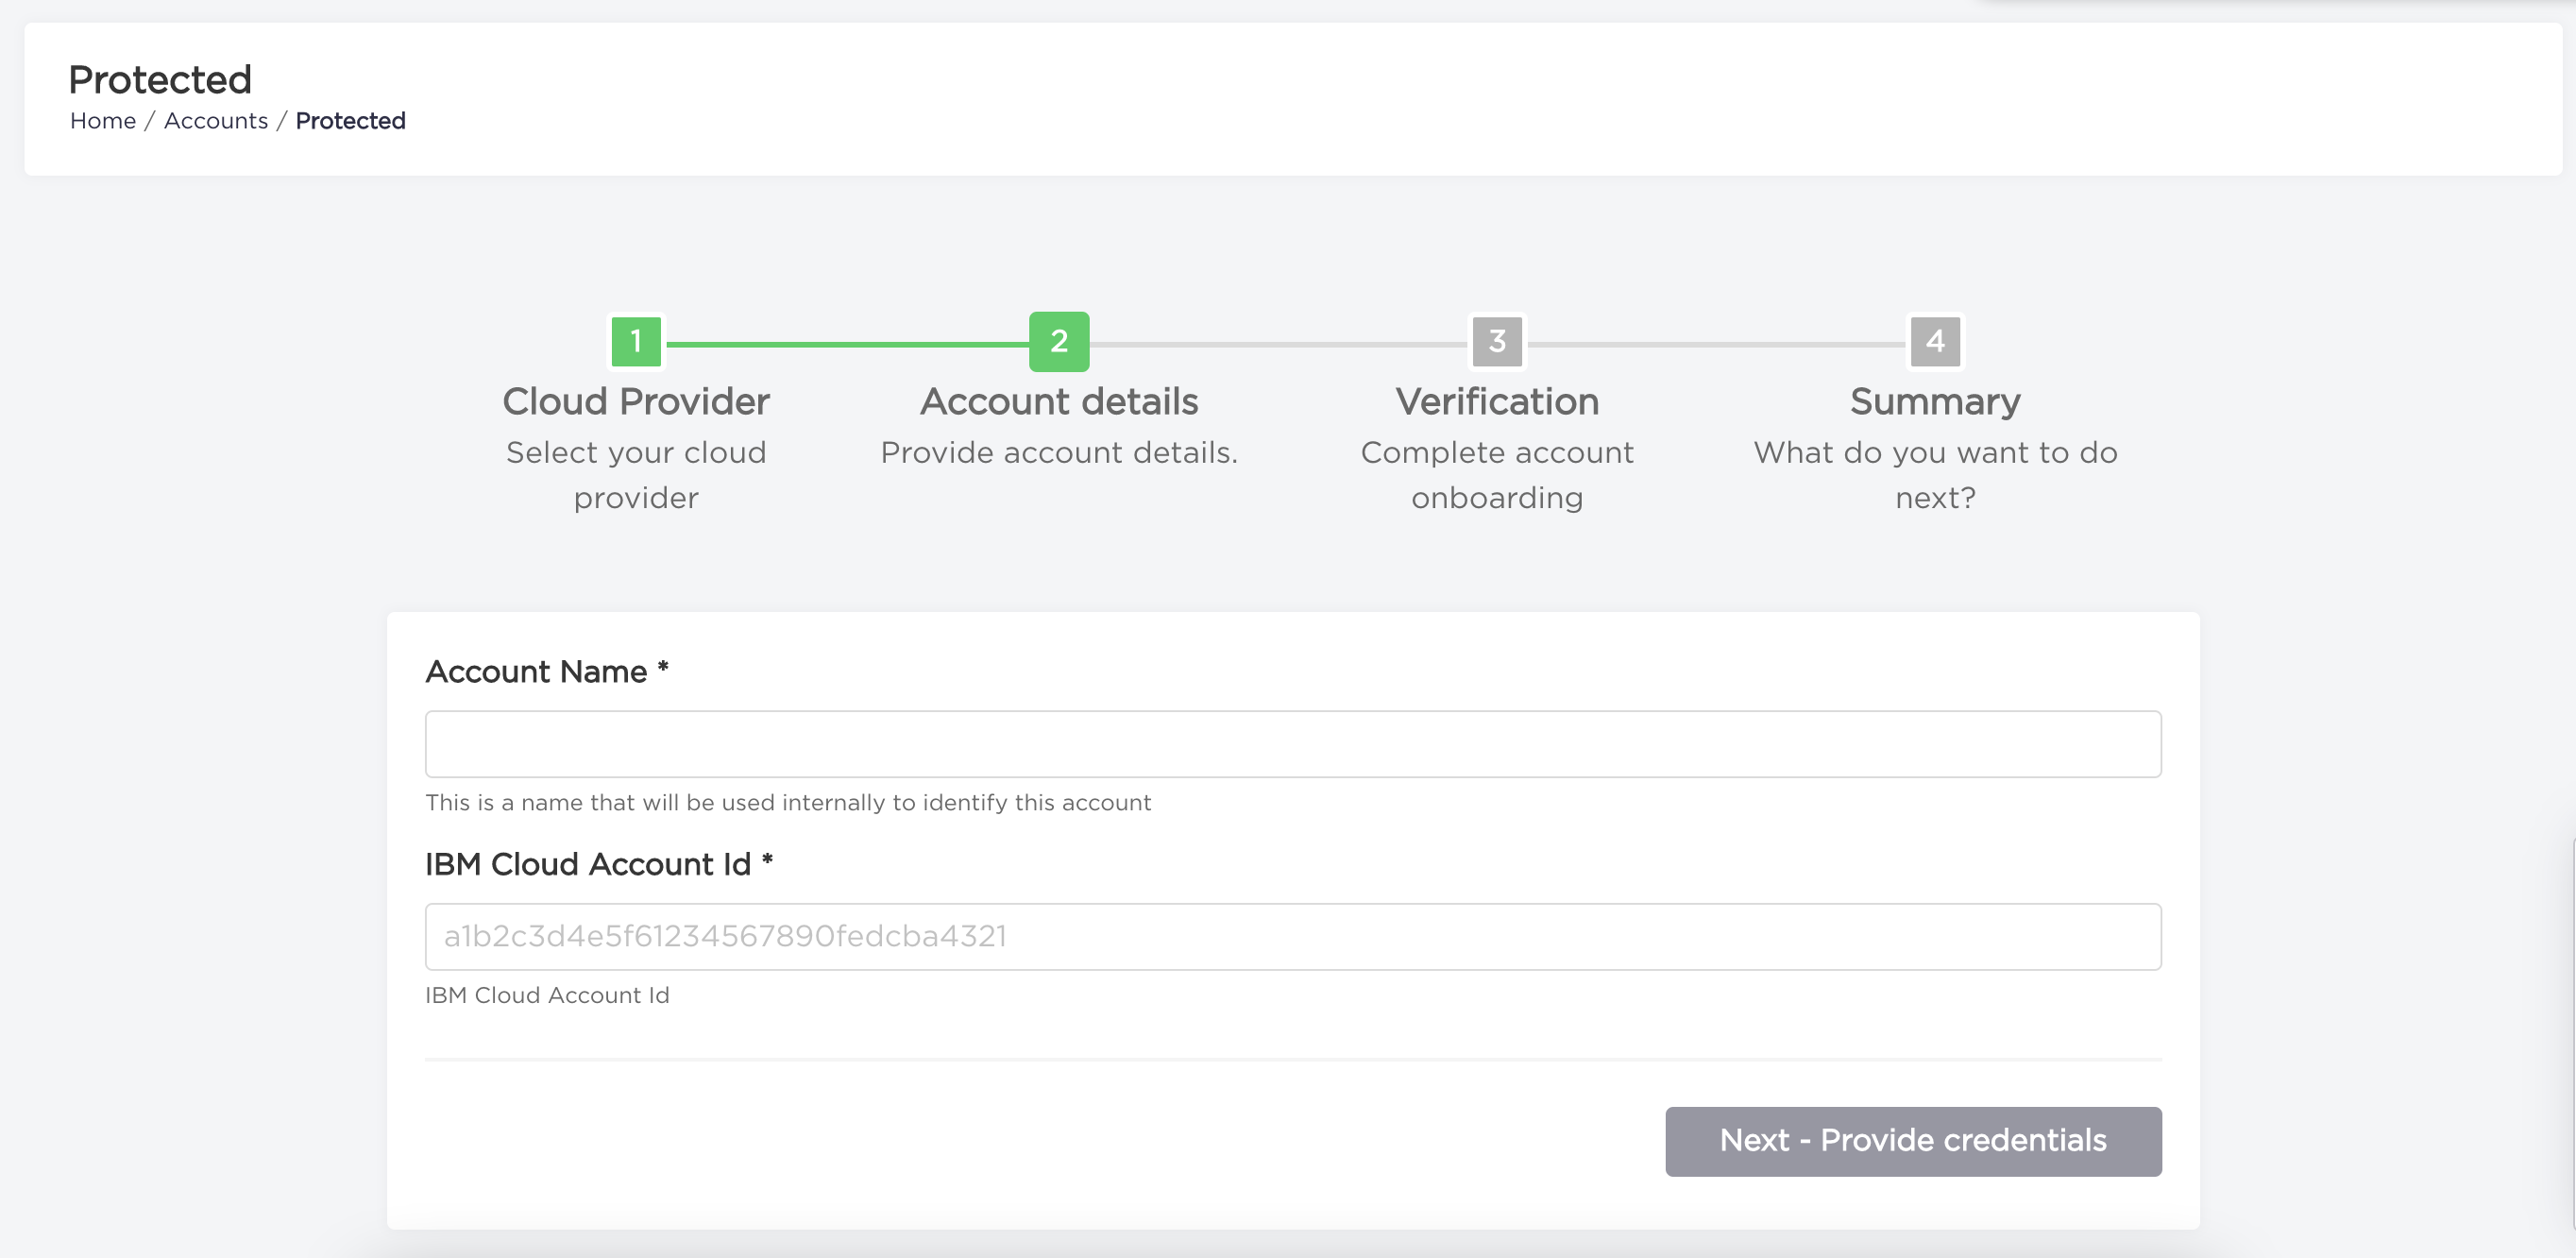
- Type your
API keyand click the "Finish Account Onboarding" button.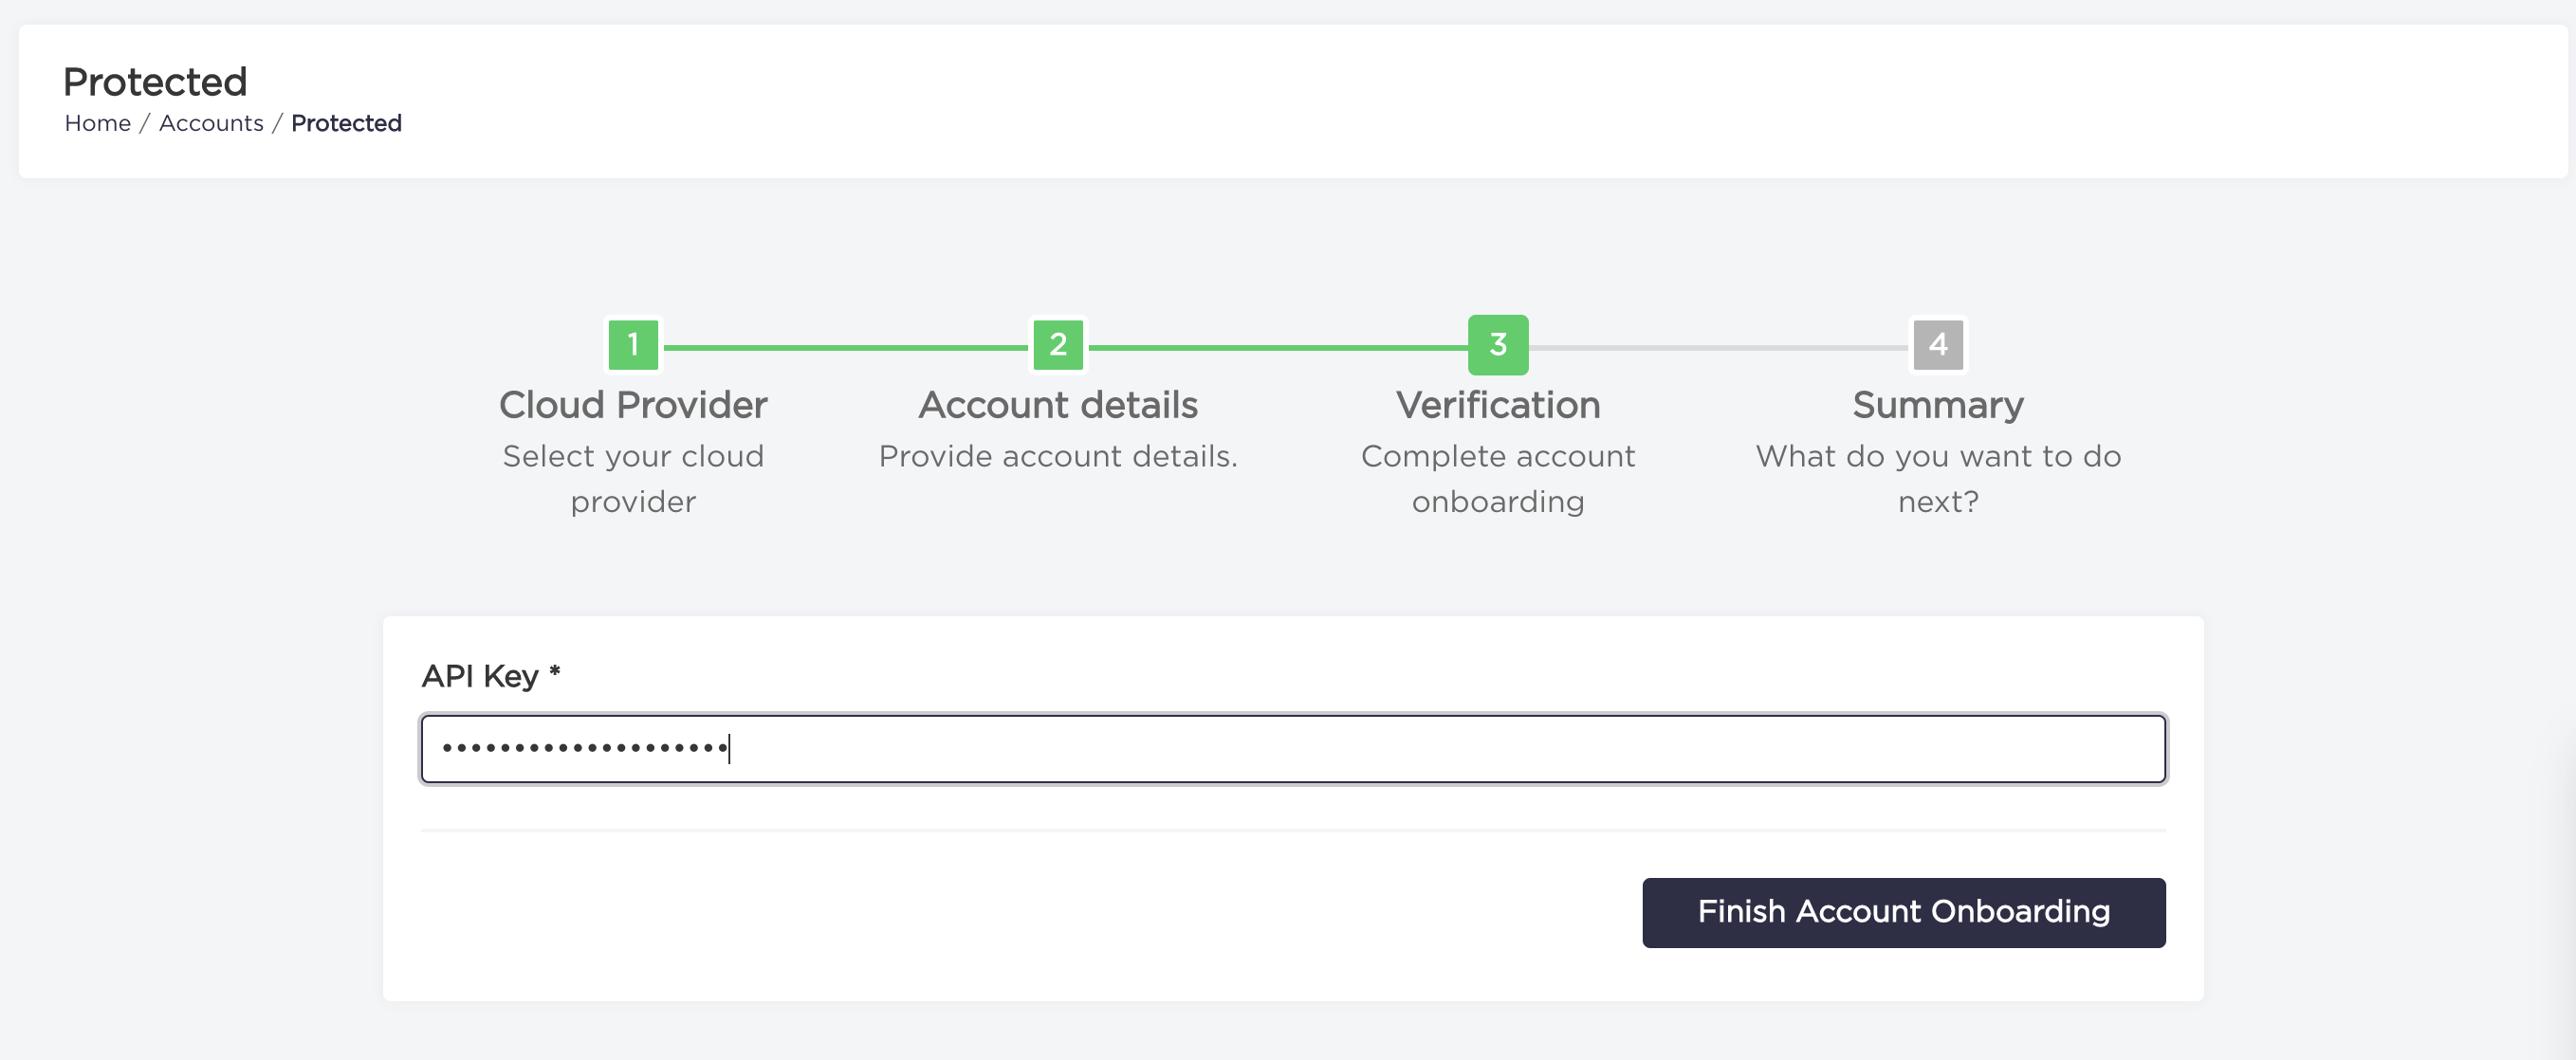
- Congratulations, your account has been added.